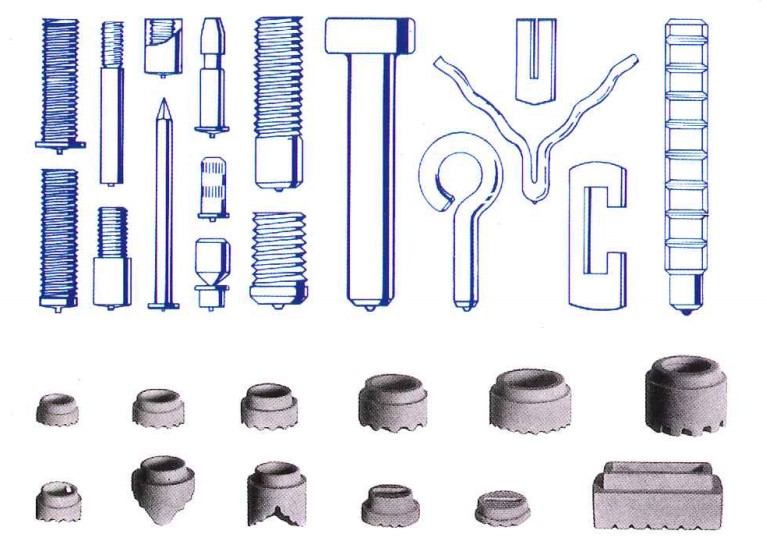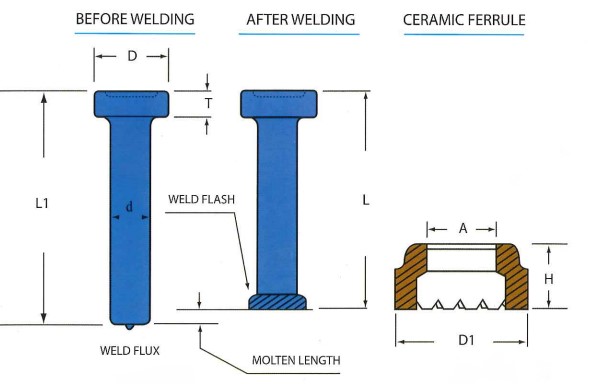
- STANDARDS OF STUD & CERAMIC FERRULE
- Product Sheet
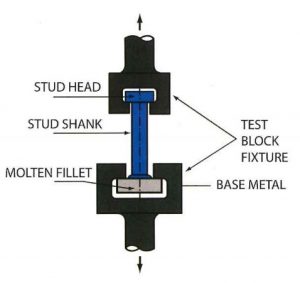
MECHANICAL PROPERTY REQUIREMENTS
| Tensile Strength (PSI) Mpa | YIELD STRENGTH (PSI) Mpa (0.2% OFFSET) | ELONGATION % | REDUCTION AREA % | SPECIFICATION |
|---|---|---|---|---|
| 450 MIN (65,000) | 350 MIN (51,000) | MIN 20 | MIN 50 | AWS D1.1 :2000 DIN 17100 ST37-3 BS5950 pt.3 JIS B1198 ISO 13918(SD) GB/T 10433-2002 |
| 495 MIN (72,000) | 385 MIN (56,000) | MIN 18 | - | BS 5400 pt.5 |
| STUD DIA. | BODY DIAMETER (d) | BEFORE WELD LENGTH (L1) | HEAD DIA. (D) | HEAD HEIGHT (T) | FERRULE TYPE | A | D1 | H |
|---|---|---|---|---|---|---|---|---|
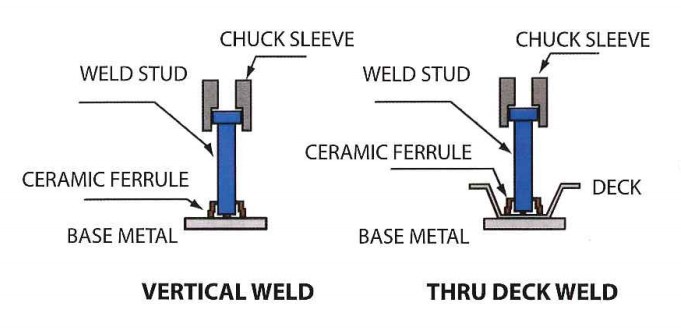
| (1/2) | 0 | +1 | VERTICAL | 14.0 | 21.0 | 10.0 | ||
| 12.95 | 25.4 ± 0.4 | 8 | - | |||||
| 13 | -0.25 | 0 | WELD THRU | - | - | - | ||
| (5/8) | 0 | +1 | VERTICAL | 17.0 | 30.0 | 14.5 | ||
| 15.95 | 31.7 ± 0.4 | 8 | ||||||
| 16 | -0.25 | 0 | WELD THRU | 17.0 | 30.0 | 18.0 | ||
| (3/4) | 0 | L1 ± 1.6 | +1 | VERTICAL | 20.5 | 32.0 | 16.5 | |
| 19.0 | 31.7 ± 0.4 | 9.5 | ||||||
| 19 | -0.38 | 0 | WELD THRU | 20.5 | 32.0 | 16.5 | ||
| (7/8) | 0 | +1 | VERTICAL | 23.5 | 36.0 | 18.0 | ||
| 22.1 | 34.9 ± 0.4 | 9.5 | ||||||
| 22 | -0.38 | 0 | WELD THRU | 23.5 | 40.0 | 21.0 | ||
| (1) | 0 | +1 | VERTICAL | 26.5 | 41.0 | 21.0 | ||
| 25.4 | 41.3 ± 0.4 | 12.7 | ||||||
| 25 | -0.38 | 0 | WELD THRU | - | - | - |
|  |  |
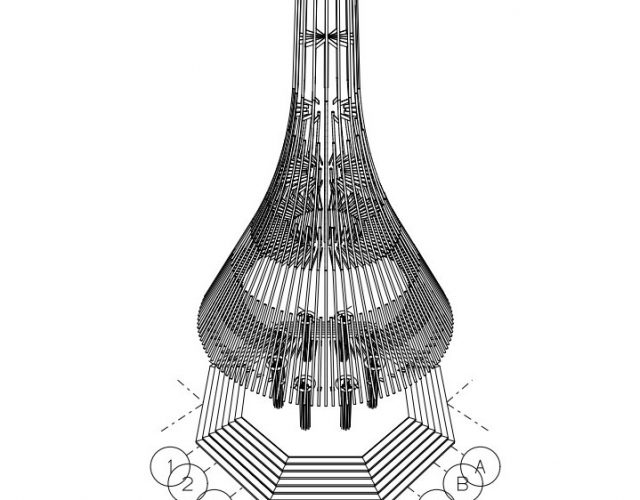
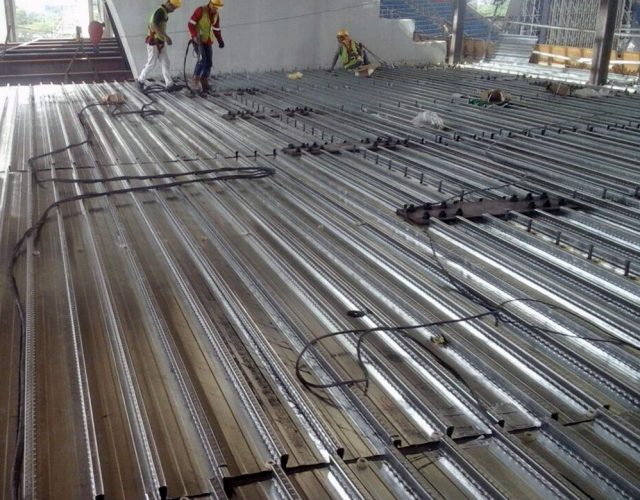
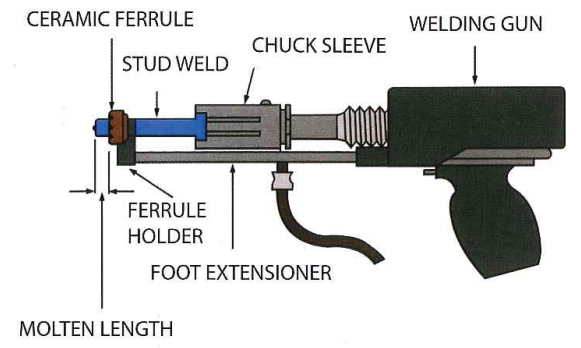
PATTERN GUN SET-UP APPLICATION
 |
|
 |  |
APPLICATIONS:
- Studs should be free from rust, rust pits, oil, moisture.
- The arc shields of ferrules should be kept dry and free from broken knots in concrete.
- Should moisture occur in any of the ferrule or shield, studs and base metal during its operation may possibly cause welding defects.
- The areas to which the studs are to be welded shall be free to the necessary extent to obtain satisfactory welds and prevent objectionable fumes.
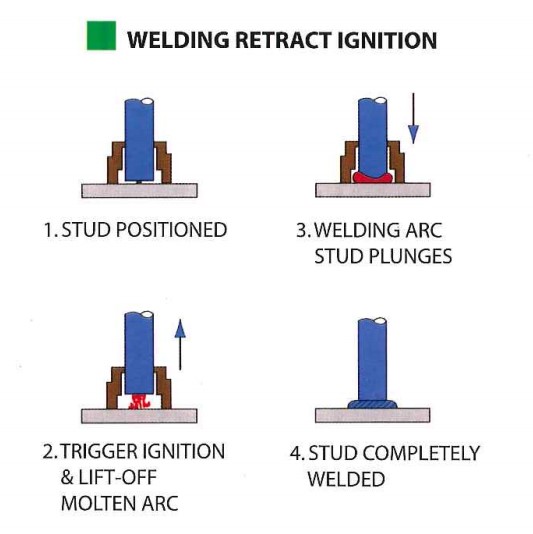
- Studs shall be welded with automatic equipment connected to a suitable power source with proper voltage, current time and gun settings for lifts and plunge optimum settings. One gun only at a time.
- First two studs tested for each start of new production shift or change in size are required.
- A stud on which not being well welded could be welded an additional stud just right beside it.
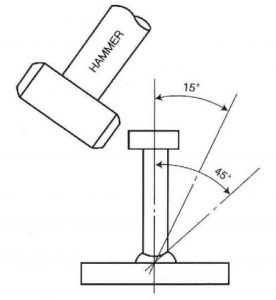
- Any studs that does not show a full 360 welding flash shall be made by bending test at opposite direction.
- Striking away ferrule right after welding with visual inspection.
| DIA(d) LENGTH(L1) | 13mm (1/2) | 16mm (5/8) | 19mm (3/4) | 22mm (7/8) | 25mm (1) |
|---|---|---|---|---|---|
| 50 | 74 | - | - | - | - |
| 55 | 79 | 121 | 161 | - | - |
| 60 | 83 | 130 | 173 | - | - |
| 64 | 87 | 137 | 182 | 237 | - |
| 70 | 94 | 146 | 195 | 255 | 364 |
| 76 | 99 | 155 | 208 | 273 | 388 |
| 80 | 104 | 161 | 217 | 285 | 404 |
| 85 | 109 | 169 | 227 | 300 | 424 |
| 90 | 144 | 176 | 238 | 314 | 444 |
| 95 | 119 | 184 | 248 | 329 | 464 |
| 100 | 124 | 192 | 259 | 342 | 484 |
| 106 | - | 199 | 271 | 358 | 508 |
| 110 | - | 207 | 281 | 373 | 524 |
| 115 | - | 214 | 292 | 388 | 544 |
| 120 | - | 222 | 303 | 402 | 564 |
| 125 | - | 230 | 313 | 417 | 584 |
| 130 | - | 238 | 324 | 432 | 604 |
| 140 | - | 346 | 462 | 644 | |
| 150 | - | 368 | 490 | 684 | |
| 160 | - | 390 | 520 | 724 | |
| 165 | - | - | 400 | 535 | 744 |
| 180 | - | - | 433 | 595 | 804 |
